


Leave a Reply
You must be logged in to post a comment.
This manual details operation of Panasonic bread makers‚ featuring YeastPro technology‚ pre-set programs‚ and customizable settings for perfect homemade bread every time.
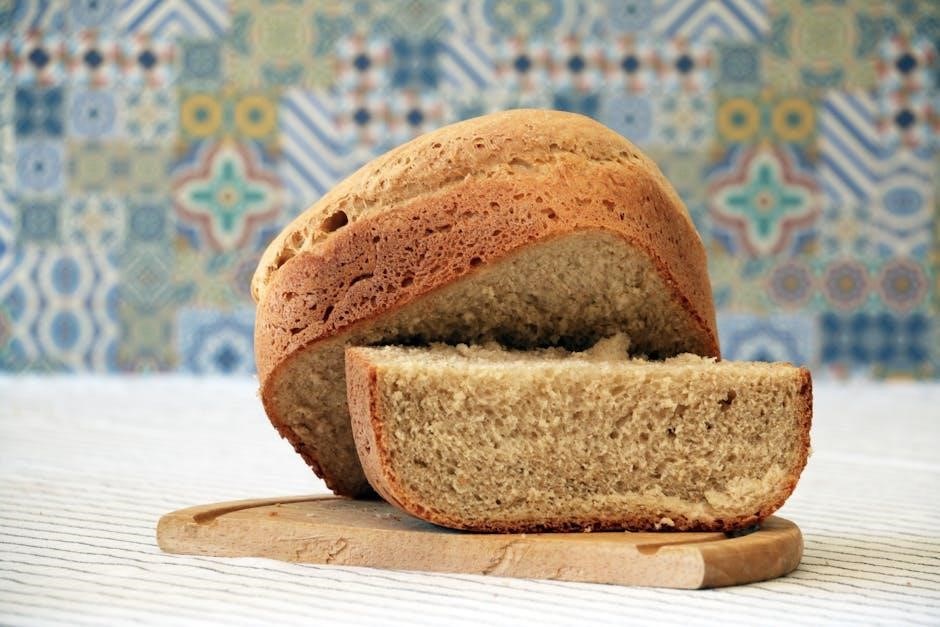
Your Panasonic bread maker is a versatile kitchen appliance designed to simplify the process of baking fresh‚ delicious bread at home. Utilizing innovative features like YeastPro technology‚ it automates kneading‚ rising‚ and baking‚ eliminating much of the traditional effort. This appliance isn’t just for bread; it offers diverse functionalities‚ including dough-making for pastries and even jam-making capabilities.
The machine’s digital controls and pre-programmed settings cater to various bread types – basic‚ whole wheat‚ sweet‚ and more – offering convenience for bakers of all skill levels. Understanding these features and the interplay between ingredients is key to achieving optimal results. The automatic bread maker (SD-R2550) removes guesswork‚ offering customizable modes for perfect baking.
Panasonic offers a range of bread maker models‚ each with unique features tailored to different baking needs. Identifying your specific model is crucial for accessing the correct settings and troubleshooting information. Key features commonly found across Panasonic bread makers include a digital display for easy control‚ multiple pre-programmed baking cycles‚ and adjustable crust color options.
Many models incorporate YeastPro technology‚ optimizing yeast activity for improved dough rise and bread texture. Some also boast remote control capabilities via smartphone apps‚ and professional displays are available. The KX-HDV800 is an IP conference telephone‚ while the KX-HCM10C is a network video camera‚ showcasing Panasonic’s broader tech portfolio.
The Panasonic bread maker comprises several essential components. The baking pan‚ often non-stick‚ holds ingredients during kneading‚ rising‚ and baking. A kneading blade‚ crucial for dough development‚ is typically removable for cleaning. The heating element ensures even baking‚ while the digital control panel allows program selection and customization.
The viewing window lets you monitor progress without interrupting the cycle. Models with YeastPro technology feature a dedicated yeast dispenser. Understanding each component’s function – from dough kneading to fermentation – is vital for optimal results. Panasonic’s broader range includes network cameras (KX-HCM10C) and professional displays‚ demonstrating their engineering expertise.
Before first use‚ unpack your Panasonic bread maker carefully‚ inspect for damage‚ and thoroughly clean all removable parts to ensure optimal performance.
Carefully remove your new Panasonic bread maker from its packaging‚ retaining the box and packing materials for potential future transport or storage. Thoroughly inspect the unit for any visible signs of damage that may have occurred during shipping. This includes dents‚ scratches‚ or broken parts.
Verify that all included accessories are present. These typically include the kneading blade‚ measuring cup‚ measuring spoon‚ and potentially a dough hook or other specialized tools. Refer to the included parts list within this manual to confirm completeness.
If any damage or missing components are discovered‚ do not operate the bread maker. Immediately contact Panasonic customer support or the retailer from whom you purchased the unit to arrange for a replacement or repair. Document any damage with photographs for your claim.
Before operating your Panasonic bread maker for the first time‚ a thorough cleaning is essential to remove any manufacturing residues or dust. Begin by disconnecting the appliance from the power outlet. Remove the kneading blade and bread pan from the unit.
Wash both the kneading blade and bread pan with warm‚ soapy water. Ensure all surfaces are thoroughly cleaned‚ rinsed‚ and completely dried before reassembly. The exterior of the bread maker can be wiped down with a damp cloth. Avoid using abrasive cleaners or immersing the main unit in water.
This initial cleaning process ensures a hygienic baking environment and prevents any unwanted flavors from affecting your first loaf. Proper cleaning contributes to the longevity and performance of your appliance.
To power on your Panasonic bread maker‚ simply plug the appliance into a grounded electrical outlet. The digital display will illuminate‚ indicating the unit is ready. The control panel features buttons for selecting programs‚ adjusting crust color‚ and setting timers.
The ‘Start/Stop’ button initiates or halts the bread-making process. Use the ‘Menu’ or ‘Program Select’ button to cycle through the available pre-programmed settings – Basic‚ Whole Wheat‚ Sweet‚ and more. The ‘Crust Color’ button allows you to choose between light‚ medium‚ or dark crusts.
Familiarize yourself with these basic controls before attempting your first bake. Refer to the program chart for specific settings and recommended ingredient quantities.
Successful bread making relies on quality ingredients‚ precise measurements‚ and proper yeast activation – essential steps for achieving delicious‚ homemade loaves consistently.
Flour provides the structure of your bread‚ with bread flour offering higher protein content for gluten development. Yeast is the leavening agent‚ producing gases that make the dough rise‚ and its activation is crucial. Water hydrates the flour‚ activating gluten and dissolving yeast‚ impacting dough consistency.
Sugar feeds the yeast and adds sweetness‚ influencing crust color and texture. Fat‚ like oil or butter‚ tenderizes the crumb and enhances flavor. Salt controls yeast activity and strengthens gluten‚ contributing to overall flavor balance.
Understanding these roles allows for ingredient adjustments‚ tailoring recipes to your preferences. The Panasonic bread maker’s versatility shines when experimenting with different flour types and additions‚ but maintaining proper ratios is key for optimal results.
Precise measurements are vital for successful bread making with your Panasonic bread maker. Always use dry measuring cups for flour and other dry ingredients‚ leveling off with a straight edge – avoid packing. Liquid ingredients should be measured in liquid measuring cups‚ checking at eye level for accuracy.
Weight measurements are even more accurate than volume‚ especially for flour. Consider using a kitchen scale for consistent results. The YeastPro technology relies on proper ingredient ratios‚ so slight variations can impact the final product.
Follow recipe instructions carefully‚ as ingredient amounts are specifically formulated for optimal performance. Inaccurate measurements can lead to dough inconsistencies‚ affecting rise‚ texture‚ and overall bread quality.
Choosing the right yeast is crucial for successful bread making with your Panasonic bread maker. Instant dry yeast is generally recommended for its convenience and reliability; it doesn’t require proofing. Active dry yeast needs to be proofed – dissolved in warm water (105-115°F) with a pinch of sugar – for 5-10 minutes until foamy‚ indicating it’s alive.
Ensure your yeast isn’t expired‚ as this can lead to a failed rise. The YeastPro feature optimizes yeast activity‚ but it can’t compensate for inactive yeast. Add yeast directly to the bread pan according to the recipe instructions‚ avoiding contact with liquids if using instant yeast.
Proper yeast activation ensures a light and airy loaf. Always check the expiration date and follow proofing instructions carefully when using active dry yeast.
Panasonic bread makers offer 20 pre-set programs‚ including Basic‚ Whole Wheat‚ and Sweet Bread‚ simplifying baking and delivering consistent‚ delicious results effortlessly.
The Basic Bread program is your starting point for crafting classic loaves with your Panasonic bread maker. This versatile setting is ideal for standard white bread recipes‚ providing a reliable and consistent bake every time. To utilize this program‚ ensure ingredients are added in the order specified in your recipe – typically liquids first‚ followed by dry ingredients‚ with yeast added last.
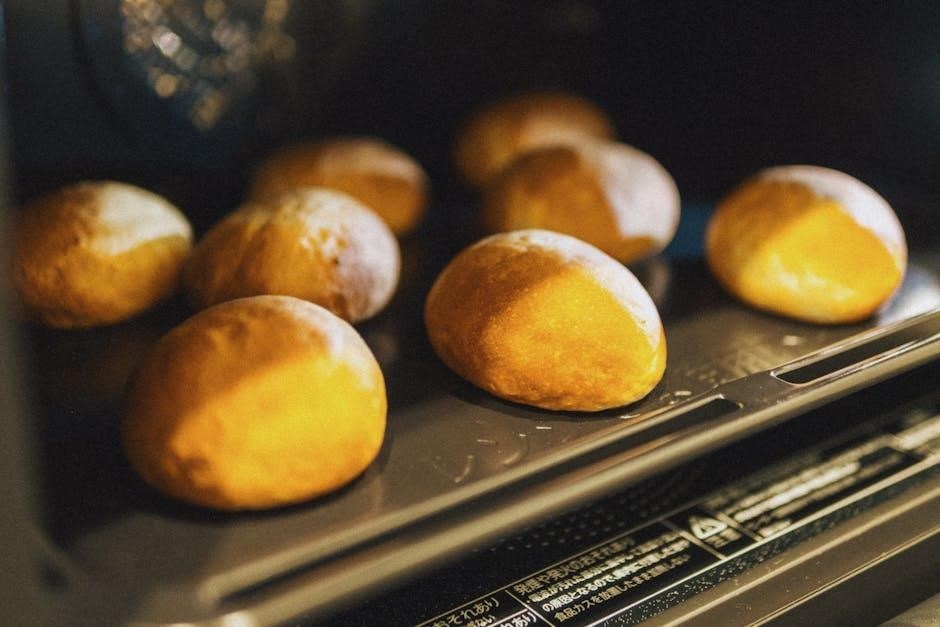
Select the ‘Basic’ program on the control panel‚ then choose your desired crust color – light‚ medium‚ or dark – using the corresponding buttons. The bread maker will automatically handle kneading‚ rising‚ and baking‚ eliminating guesswork. This program generally takes around 3 hours and 30 minutes‚ including all stages. Remember to carefully measure ingredients for optimal results‚ and always check the bread’s doneness before removing it from the machine.
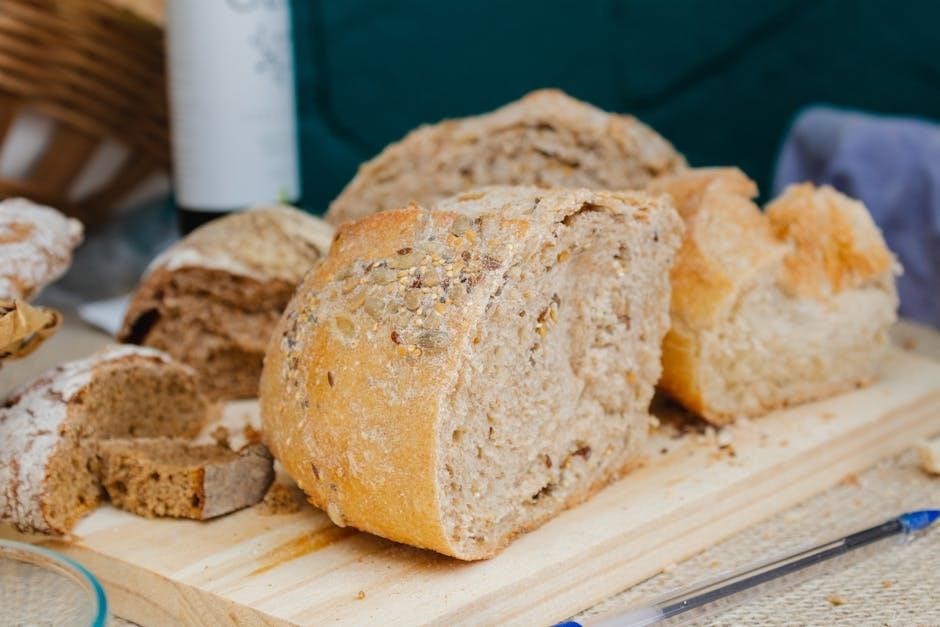
The Whole Wheat Bread program is specifically designed for recipes containing a significant portion of whole wheat flour. This program adjusts kneading and rising times to accommodate the denser nature of whole wheat‚ ensuring a lighter and more flavorful loaf. When using this setting‚ it’s recommended to use bread flour with at least 50% whole wheat content for best results.
Select the ‘Whole Wheat’ program on your Panasonic bread maker’s control panel. As with the Basic program‚ choose your preferred crust color. This program typically runs for approximately 3 hours and 45 minutes. Due to the absorbent nature of whole wheat‚ you may need to slightly increase the liquid content in your recipe. Monitor the dough consistency during kneading; it should form a smooth‚ elastic ball.
The Sweet Bread program is tailored for enriched doughs containing higher amounts of sugar‚ fat‚ and eggs. These ingredients can inhibit yeast activity‚ so this program incorporates longer rising times and gentler kneading to ensure proper leavening. It’s ideal for creating delicious brioche‚ challah‚ or sweet rolls directly in your bread maker.
Select the ‘Sweet’ program on the control panel and choose your desired crust color. This program generally takes around 3 hours and 30 minutes. When using this setting‚ ensure all ingredients are at room temperature for optimal results. Avoid adding mix-ins like fruits or nuts until the second kneading cycle‚ as they can interfere with the initial dough development.

Explore personalized baking! Adjust crust color‚ utilize dough modes for specific needs‚ and creatively enhance your loaves with fruits‚ nuts‚ and seeds.
Panasonic bread makers offer customizable crust control‚ allowing you to select your preferred level of browning. Typically‚ options range from light to dark‚ influencing the final appearance and texture of your bread. A lighter crust results in a softer loaf‚ while a darker crust provides a more robust flavor and crispier exterior.
To adjust the crust color‚ navigate to the crust color setting within the machine’s control panel. Use the corresponding buttons to cycle through the available options until you reach your desired shade. Remember that humidity and ingredient variations can slightly affect the final result‚ so experimentation may be needed to achieve perfection. Consider starting with a medium setting and adjusting accordingly for subsequent bakes. This feature ensures your bread is baked exactly to your liking!
Panasonic bread makers excel with dedicated dough modes‚ offering precise control over kneading and fermentation – crucial for optimal bread development. The kneading cycle thoroughly mixes ingredients‚ developing gluten for structure. Fermentation allows the yeast to activate‚ creating air pockets for a light and airy texture.

These modes aren’t limited to bread; they’re ideal for pizza dough‚ pasta‚ or even sweet doughs. Select the appropriate dough-only program‚ and the machine will handle the initial stages. You can then shape and bake the dough as desired. Adjustable fermentation times cater to different recipes and ambient temperatures. Utilizing these modes unlocks versatility beyond standard loaf baking‚ empowering you to create a wider range of baked goods with consistent results.
Enhance your bread with delightful additions! Panasonic bread makers allow for incorporating fruits‚ nuts‚ and seeds‚ but timing is key. Generally‚ add these ingredients during the second kneading cycle‚ signaled by an audible beep. This prevents them from being crushed during the initial‚ more vigorous kneading.
Dried fruits should be chopped into smaller pieces for even distribution. Nuts can be added whole or chopped‚ depending on preference. Seeds benefit from a light coating of flour to prevent clumping. Avoid overloading the machine; a maximum of 1.5 cups of additions is recommended. Experiment with combinations – cranberries and walnuts‚ sunflower seeds and raisins – to discover your favorite flavor profiles. Remember to consult your recipe for specific guidance.

Explore YeastPro technology and resolve common issues! This section covers error codes‚ kneading problems‚ and achieving optimal results with your Panasonic bread maker.
Panasonic’s YeastPro technology represents a significant advancement in bread-making automation. This innovative system utilizes a built-in sensor to meticulously monitor and control the fermentation process‚ ensuring consistently optimal results. Unlike traditional bread makers that rely on fixed timing‚ YeastPro dynamically adjusts fermentation time based on ambient temperature and humidity.
This intelligent adaptation is crucial for achieving perfectly risen dough‚ regardless of environmental conditions. The sensor accurately detects the dough’s volume and maturity‚ signaling the machine when to proceed to the next baking stage. This leads to bread with superior texture‚ flavor‚ and overall quality. YeastPro also contributes to reduced baking failures‚ making the bread-making experience more reliable and enjoyable for users of all skill levels. It’s a key feature differentiating Panasonic bread makers.
Several issues can arise during bread making‚ but most are easily resolved. If your loaf collapses‚ it may indicate too much liquid or insufficient yeast – ensure accurate measurements. A dense loaf often results from using old yeast or inadequate kneading; try activating the yeast beforehand. If the bread is pale‚ select a darker crust setting or extend the baking time slightly.
Uneven rising can be caused by uneven ingredient distribution or a drafty location; ensure ingredients are well combined and the machine is stable. A sunken center suggests over-proofing; reduce fermentation time in future attempts. Remember to always use ingredients at room temperature for optimal results. Regularly cleaning the bread pan and kneading blade also prevents issues.
Your Panasonic bread maker utilizes error codes to indicate specific problems. An “E1” code typically signals a power interruption during the baking cycle; restart the machine. “E2” indicates a temperature sensor issue – contact Panasonic support. If you see “E3‚” the lid wasn’t properly secured; ensure it clicks into place. An “E4” code suggests a malfunctioning heating element‚ requiring professional repair.
“E5” often means the kneading blade is stuck; carefully remove it after the cycle cools. “E6” signifies an overfilled pan – reduce ingredient quantities. Always unplug the machine before attempting any troubleshooting. Refer to the full error code list in the manual for comprehensive guidance. If an error persists‚ do not attempt self-repair; contact authorized Panasonic service.
Regular cleaning extends your bread maker’s life. Unplug before cleaning‚ wash removable parts with warm water‚ and wipe the exterior with a damp cloth.
Thorough cleaning is essential for maintaining optimal performance and hygiene. Always unplug the bread maker from the power outlet before commencing any cleaning procedures. Allow the bread pan and kneading blade to cool completely before handling. These removable components are typically dishwasher-safe‚ but hand washing with warm‚ soapy water is also recommended to preserve their non-stick coating.
The interior of the bread maker should be wiped down with a soft‚ damp cloth after each use to remove any crumbs or residue. Avoid using abrasive cleaners or scouring pads‚ as these can damage the non-stick surface. For stubborn residue‚ a mild detergent solution can be used‚ followed by a thorough rinsing with a clean‚ damp cloth. Ensure the heating element is completely dry before powering on the appliance. Regularly inspect the cord for damage and avoid immersing the main unit in water.
Proper storage extends the lifespan of your Panasonic bread maker and ensures it’s ready for your next baking adventure. Before storing‚ ensure the appliance is completely cool‚ clean‚ and dry‚ following the cleaning guidelines outlined in this manual. Store the bread maker in a cool‚ dry place‚ away from direct sunlight and extreme temperatures.
It’s advisable to store the bread maker in its original packaging‚ if available‚ to protect it from dust and potential damage. If the original packaging isn’t accessible‚ a large plastic bag or a cardboard box can be used. Avoid placing heavy objects on top of the bread maker during storage. Keep the power cord neatly coiled and secured to prevent tangling or damage. Regularly check the storage area for pests or moisture.
Panasonic is committed to providing excellent customer support for your bread maker. For frequently asked questions‚ troubleshooting tips‚ and downloadable resources‚ please visit the official Panasonic website. You can find detailed information regarding your specific model and access helpful guides to enhance your baking experience.
Should you require further assistance‚ our dedicated customer support team is available via phone or email. Warranty details vary by region; please refer to the warranty card included with your purchase for specific terms and conditions. Retain your proof of purchase for warranty claims. Panasonic strives for product excellence and values your satisfaction. Contact information and warranty registration details are readily available online.
You must be logged in to post a comment.